Last year I discovered Warm Up America and met up with some local ladies at our Michaels to join squares together to send off to those in need. In the process, I learned a lot and found a wonderful charity that I can support with my yarn stash – if you’ve ever been to my Twitch channel, you know I’ve got the yarn to spare!
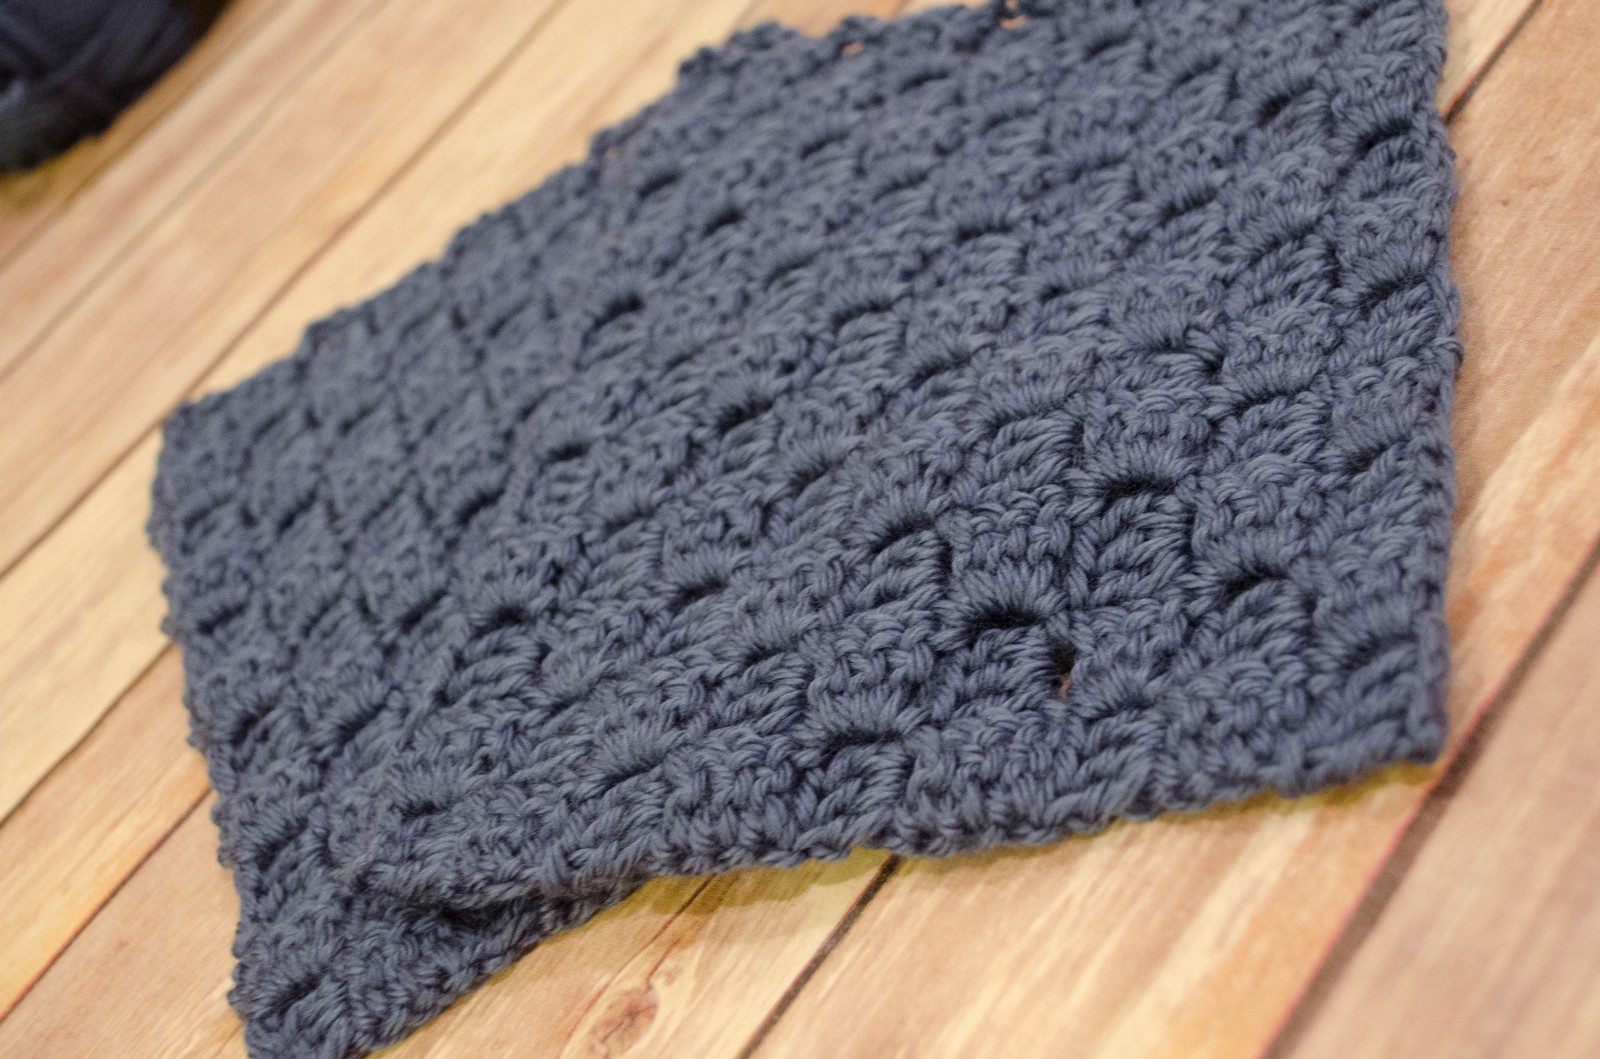
One of my favorite blanket patterns is the C2C graphgan. They work up quickly, have a simple, but interesting texture, and you can easily make them any size you want without having to fuss with figuring out how many sets of a pattern you have to make. When you hit the size you want, you stop! EZPZ.
Now, here’s the pattern!
C2C Square for Warm Up America
Final size – 7″ x 9″
Materials Needed :
- 5 mm crochet hook (or hook needed to achieve size)
- worsted weight yarn in whatever color you’d like
- yarn needle for weaving in ends
Stitches :
- DC — Double Crochet
- Ch — Chain
- SL ST — Slip Stitch

Row 1
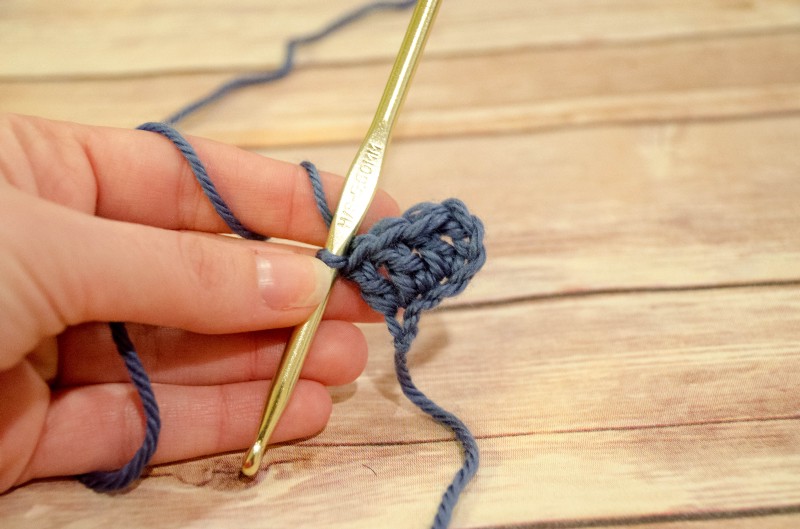
Ch. 6 DC in the fourth chain from the hook. DC in last 2 chains. Turn.
Note* To keep your piece oriented correctly, the tail should always point back toward you. One you get a few rows worked up, it’s much easier to tell which direction you’re going.
Row 2
Ch. 6. DC in the fourth chain from the hook. DC in the last 2 chains. [SL ST to the corner of Row 1 to the left of your hook. Ch. 3. DC 3 times in the same space (the space between the 2nd and 3rd chain of the previous row) that you SL ST to. Turn. ]
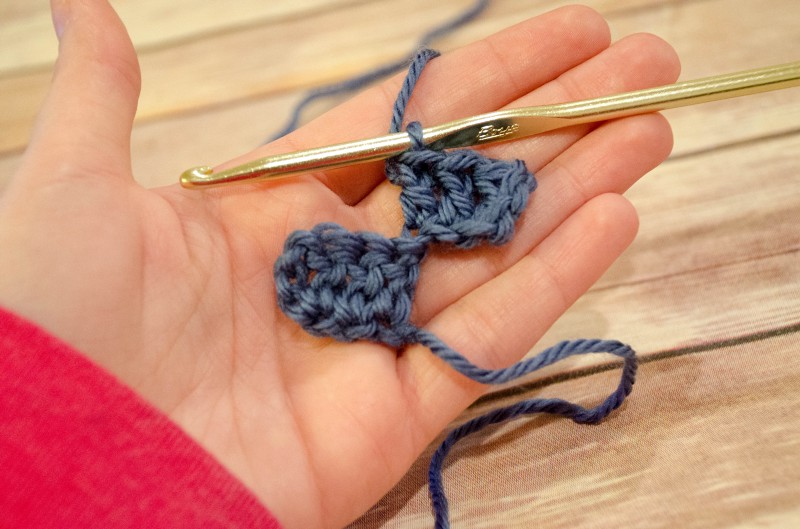
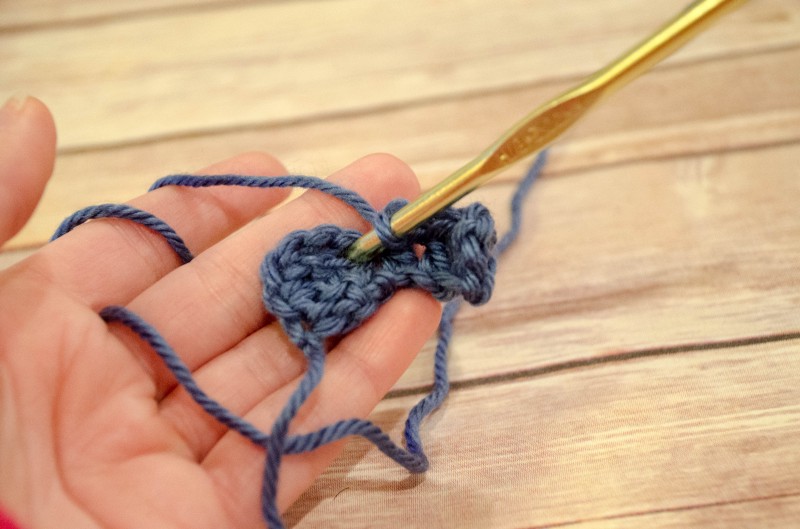 This is where you slip stitch to start your next box. After your slip stitch, chain 3. All 3 of your DCs will also go into this space.
Now repeat from [ to ] until the end of your row. Turn and start a new row the same as you have the others. Continue this process until you have 9 little boxes (each a ch. 3 and 3 DC) along each side. This is where we start to decrease the row, but only on one side. This will keep our C2C a rectangle instead of a square.
Note : It’s a good idea to check the length of your sides. If they do not come out to 7 inches, continue the pattern until they do. Once you reach 7″, continue with your decrease.
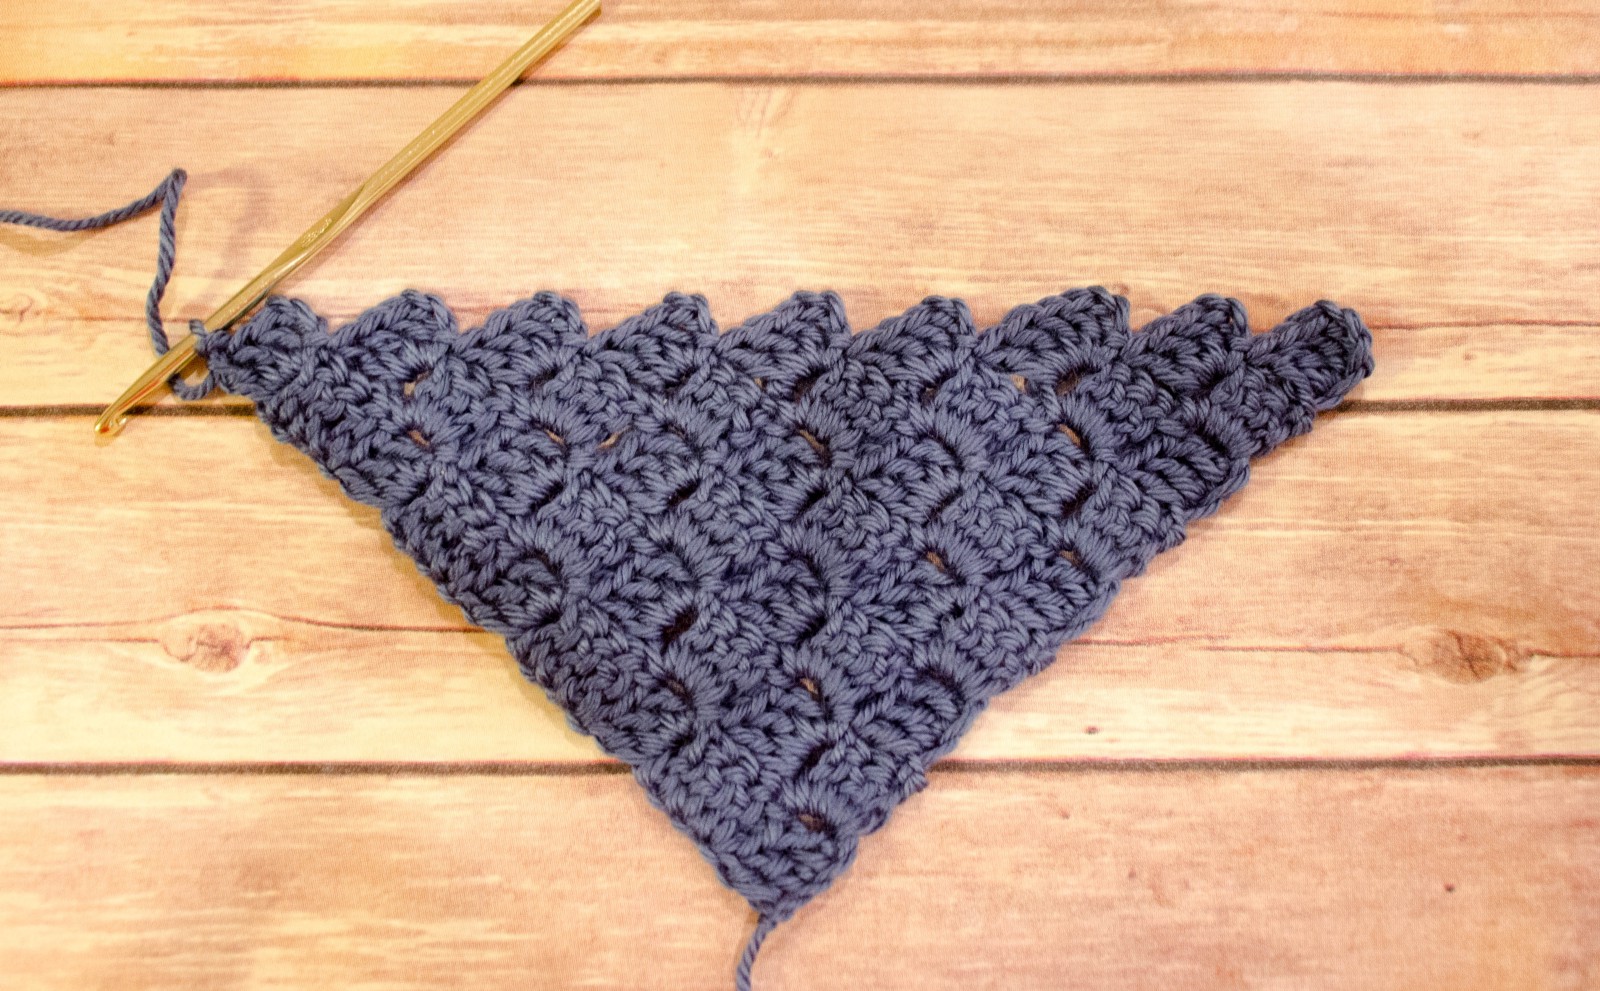 9 Rows. Since they aren’t traditionally straight rows, you can keep track of them by counting the boxes on the side.
Row 10
SL ST 3 times along the DCs of the last box you made. SL ST one more time into the space between the last 2 stitches (we’re starting a new box like all the others). Ch. 3, DC 3 times into this space. Continue the rest of the row like normal.

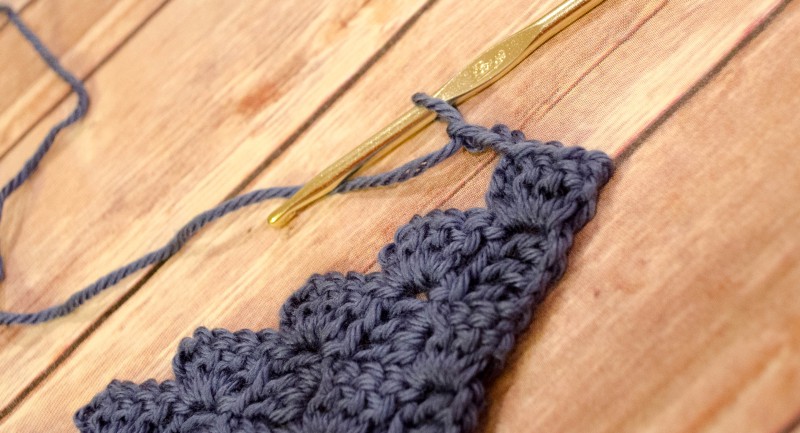 After you slip stitch across the edge of your last box, you can ch 3 to start the next row.
Keep alternating between decreasing on your short side, and increasing on your long side, until you have 11 boxes on the longest side (you should still have 9 on the other). This should make one side 9″ and the other 7″ Once those measurements are made, you will begin to decrease both sides, just like you’ve been doing on the shorter side.
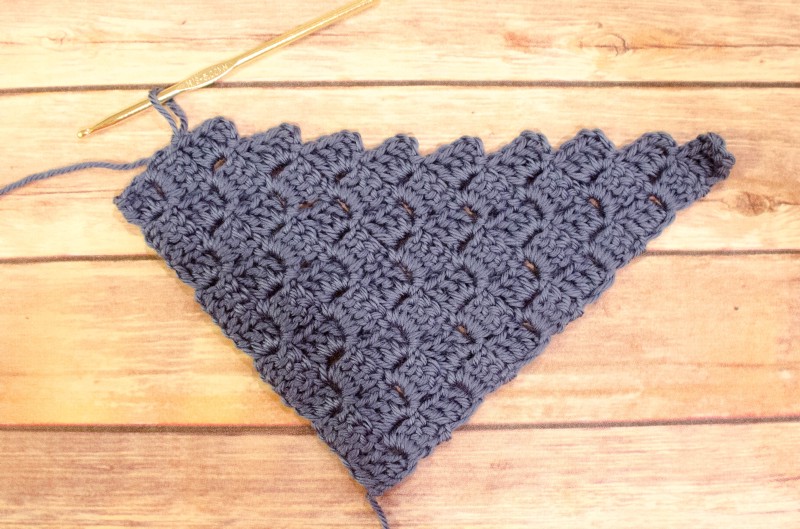 Your piece is becoming a rectangle
 Almost there!

Continue this until you get to your last box, SL ST it closed and fasten off.
That’s it! You’re finished! Congrats on your first C2C rectangle!
