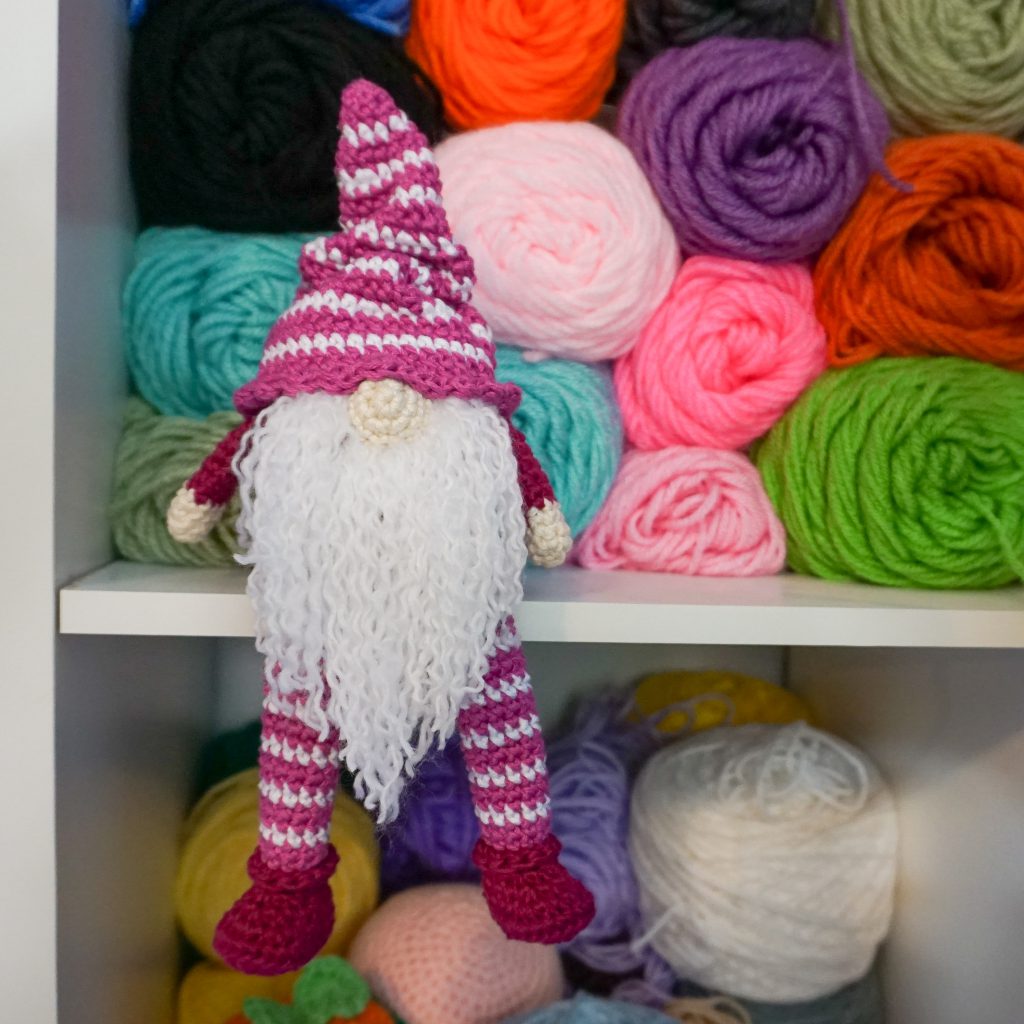
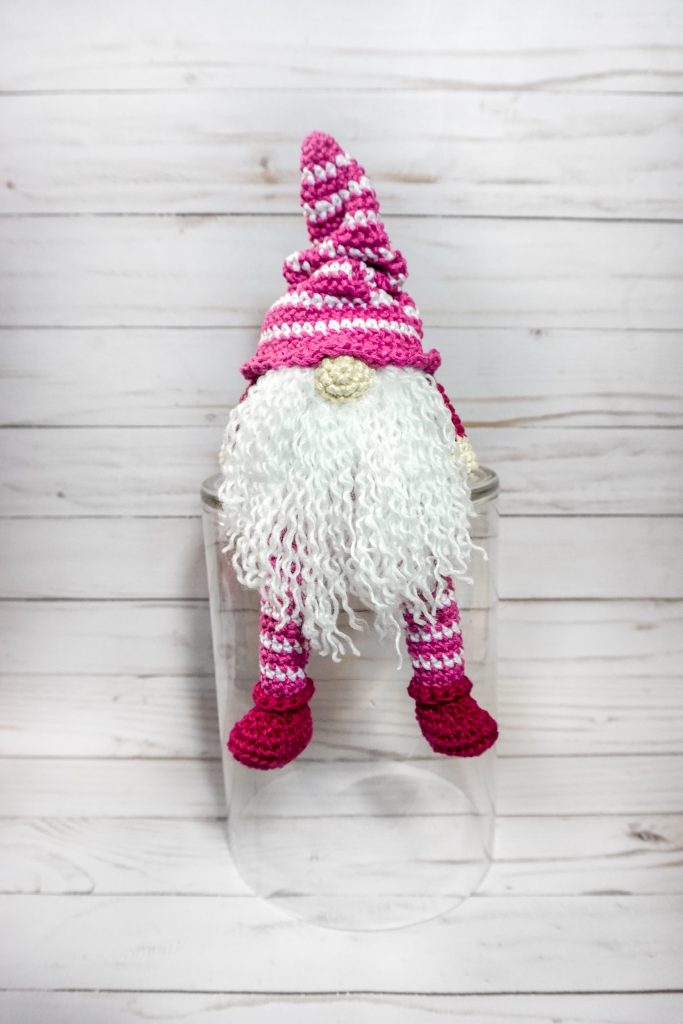
I’d say, “Excuse the cheesy pun” but we all know I giggled AND rolled my eyes while typing it. I set a few new goals for 2021 and first and foremost is MORE PATTERNS! We knocked out 2 for January and February’s is ever bigger and better! While this little guy is free here on the blog, you can get a printable PDF version (and support a creative!) on Etsy as well!

Gnome Pattern
Materials
- Lion Brand 24/7 Cotton in Magenta
- Lion Brand 24/7 Cotton in Rose
- Lion Brand 24/7 Cotton in White
- Lion Brand 24/7 Cotton in Ecru
- 2.75 mm hook
- yarn needle
- polyfil and polypellets (optional)
- yarn or fur for beard
Stitches
- SC – single crochet
- sl st – slip stitch
- inc – 2 sc in the same stitch
- dec – 2 sc brought together as one
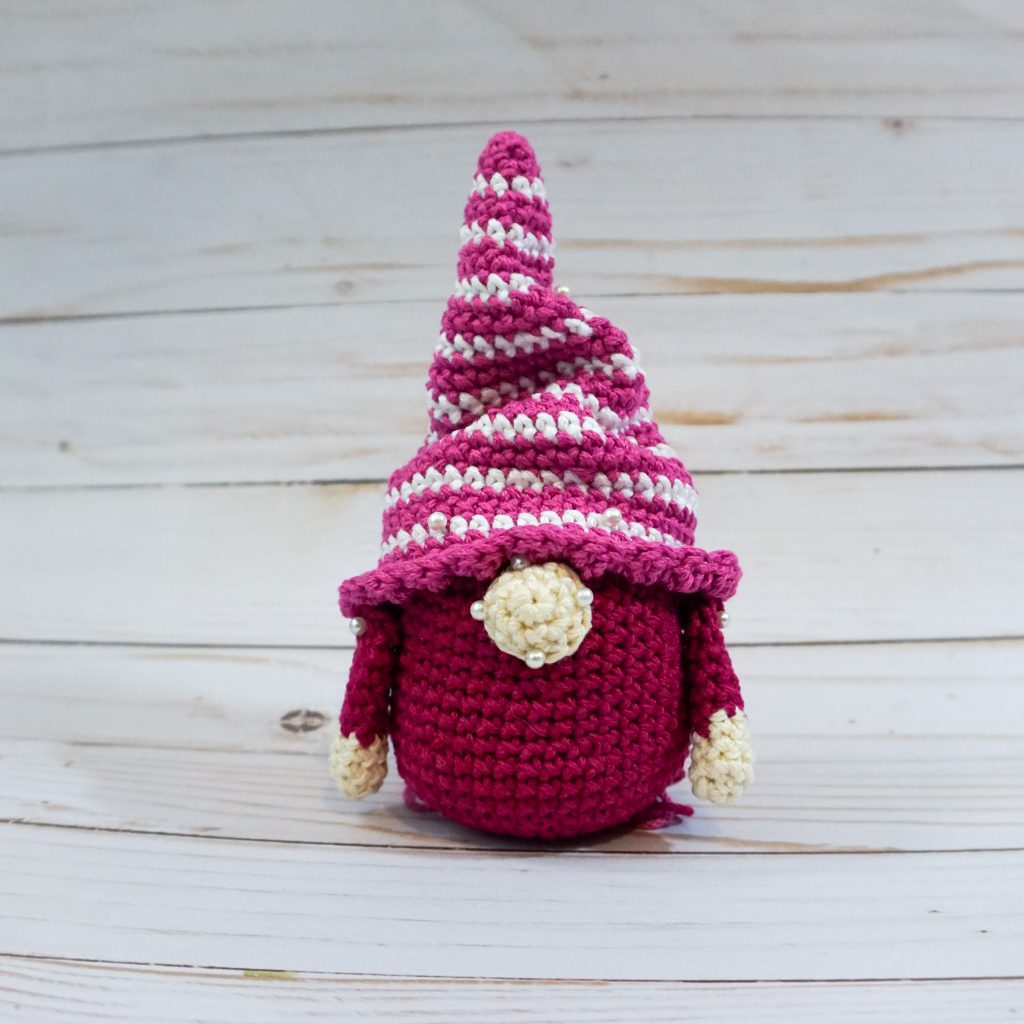
Body
Worked in the Round
(in Magenta)
Rnd 1. MC, 6sc (6)
Rnd 2. (inc) x 6 (12)
Rnd 3. (inc, sc) x 6 (18)
Rnd 4. (inc, sc x 2) x 6 (24)
Rnd 5. (inc, sc x 3) x 6 (30)
Rnd 6. (inc, sc x 4) x 6 (36)
Rnd 7. (inc, sc x 5) x 6 (42)
Rnd 8. (inc, sc x 6) x 6 (48)
Rnd 9-11. sc in each stitch around (48)
Rnd 12. (dec, sc x 6) x 6 (42)
Rnd 13-14. sc in each stitch around (42)
Rnd 15. (dec, sc x 5) x 6 (36)
Rnd 16-19. sc in each stitch around (36)
Rnd 20. (dec, sc x 4) x 6 (30)
Rnd 21. sc in each stitch around (30)
Rnd 22. (dec, sc x 3) x 6 (24)
Rnd 23. (dec, sc x 2) x 6 (18)
Rnd 24. (dec, sc) x 6 (12)
Rnd 25. (dec) x 6 (6)
Finish stuffing and sew closed
Nose
Worked in the round
(in Ecru)
Rnd 1. MC, 6sc (6)
Rnd 2. (inc) x 6 (12)
Rnd 3. sc in each stitch around (12)
Arms (make 2)
Worked in the round
(in Ecru)
Rnd 1. MC, 6sc (6)
Rnd 2. (inc, sc) x 3 (9)
Rnd 3-4. sc in each stitch (9)
Switch to magenta
Rnd 5-10. sc in each stitch around (9)
Rnd 11. (dec, sc) x 3 (6)
FO with a tail for sewing to the body

If you’d like your gnome without legs, you can skip them and he’ll sit up just fine! I wanted a bit of a sack like feel for his bottom, so I used poly pellets and then stuffing on top of those.
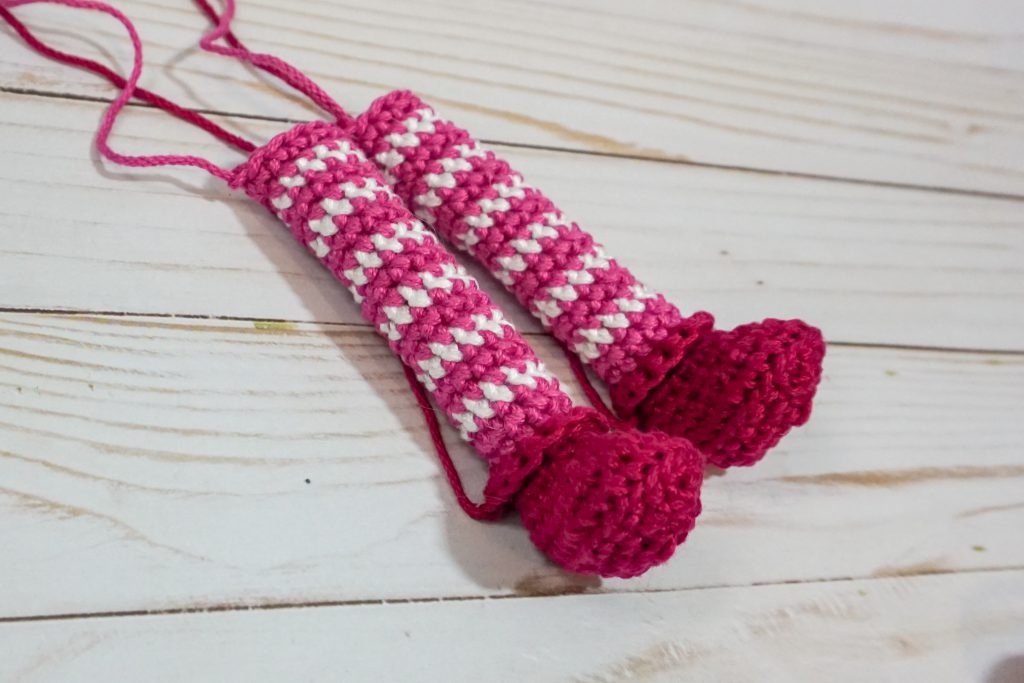
Legs (Make 2)
Worked in the Round
(in magenta)
Rnd 1. Ch 6. sc in the 2nd chain from the
hook, sc x 3, 4 sc in the last stitch, working
down the back side of the original chain,
sc x 4 (12)
Rnd 2. inc, sc x 3, inc x 4, sc x 3, inc (18)
Rnd 3. sc, inc, sc x 3, (sc, inc) x 4, sc x 3, inc, sc
Rnd 4. In BLO, sc in each stitch around (24)
Rnd 5. sc x 6, (sc, dec) x 4, sc x 6 (20)
Rnd 6. sc x 6, dec x 4, sc x 6 (16)
Rnd 7. sc x 4, dec x 4, sc x 4 (12)
Rnd 8. sc in each stitch around (12)
Rnd 9. in FLO, sc around.
FO and stuff shoe well
From here on out, we’ll be striping the legs, with 2 rows of rose and then 1 row of white.
Rnd 10. In BLO of row 8 – sc in each around (12)
Rnd 11 – 29. sc in each stitch around (12)
For firm, straight legs, stuff, for floppier legs, stuff lightly or not at all (mine are not stuffed).

Hat
Worked in the Round
We’ll be striping the hat, with 2 rows of
magenta, 1 row of white.
Rnd 1. MC, 6sc (6)
Rnd 2. sc in each stitch (6)
Rnd 3. (inc, sc) x 3 (9)
Rnd 4. sc in each stitch (9)
Rnd 5. (inc, sc x 2) x 3 (12)
Rnd 6. sc in each stitch around (12)
Rnd 7. (inc, sc x 3) x 3 (15)
Rnd 8. sc in each stitch around (15)
Rnd 9. (inc, sc x 4) x 3 (18)
Rnd 10. sc in each stitch around (18)
Rnd 11. (inc, sc x 5) x 3 (21)
Rnd 12. sc in each stitch around (21)
Rnd 13. (inc, sc x 6) x 3 (24)
Rnd 14. sc in each stitch around (24)
Rnd 15. (inc, sc x 7) x 3 (27)
Rnd 16. sc in each stitch (27)
Rnd 17. (inc, sc x 8) x 3 (30)
Rnd 18. sc in each stitch around (30)
Rnd 19. (inc, sc x 9) x 3 (33)
Rnd 20. sc in each stitch around (33)
Rnd 21. (inc, sc x 10) x 3 (36)
Rnd 22. sc in each stitch around (36)
Rnd 23. (inc, sc x 11) x 3 (39)
Rnd 24. sc in each stitch around (39)
Rnd 25. (inc, sc x 12) x 3 (42)
Rnd 26. sc in each stitch around (42)
Rnd 27-31. sc in each stitch around.
Rnd 32. (2DC, sc) x 21 (63)
FO and sew in ends.
Let’s Talk Beards!
There are several methods for attaching a beard to your little gnome’s face. My personal preference is separating the yarn strand, so that it’s thin and curled and then looping it onto the face. You can also brush out acrylic yarn with a slicker brush and needle felt the tufts on or purchase fur from your local craft store and sew it into place.

Happy Valentine’s Day! And Happy Stitching! I’d love to see your finished gnomies! Don’t forget to tag me on social media or use the hashtag #HareMadeMeDoIt


I know you posted this a year ago but I’m just finding this now and this is super cute! What do you think the difficulty level would be?
Hi Lisa! Thank you! It’s pretty beginner friendly. The color changes and small pieces might be where it gets a little more difficult, But I believe in you! You can always switch to a thicker yarn and larger hook (worsted with a 3.5 or 4mm) if you have trouble with the tiny parts.