
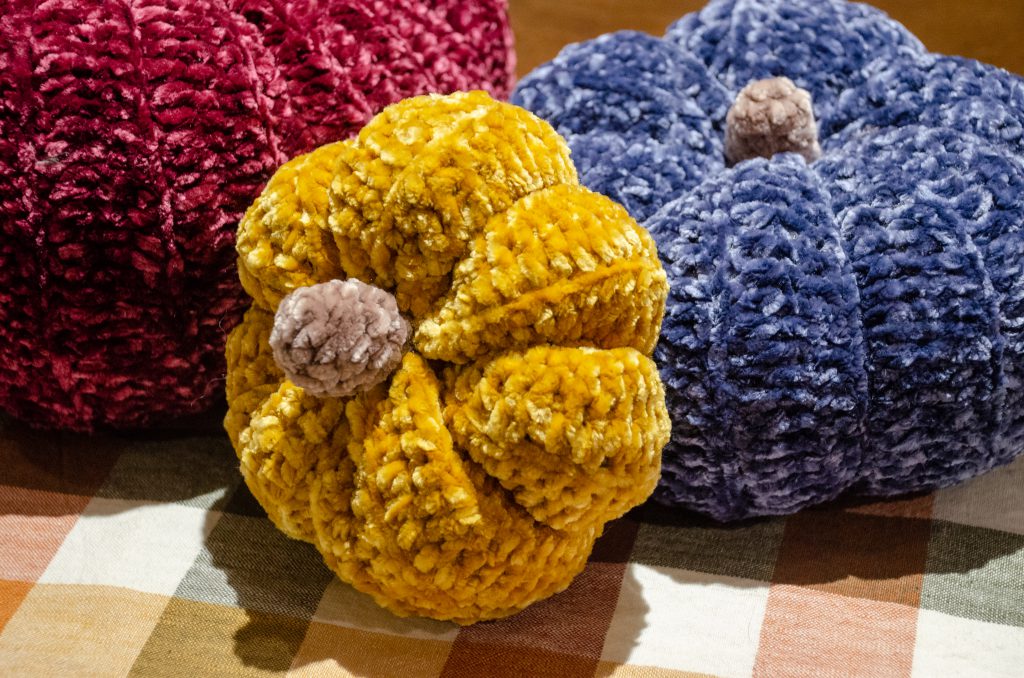
It’s that time of year again! We’ve done our fair share of crocheting for Halloween and the spooky season, but I tend to switch over to the winter holidays before finishing up fall patterns. This year, I wanted to make some pumpkins that could be out past October and fit in with our fall decor. Bernat’s current line of velvet yarns have such lovely fall colors, and some not so fall colors that still make great pumpkins!
The best part? You can make your pumpkins in any size you want – with any yarn you’d like. Personally, I wanted to make them in a few different sizes for a little display for Thanksgiving.
Pumpkin Pattern
- Chain the desired height of your pumpkin. Keep in mind that this will include the top and bottom curves. For my small pumpkins, I used a chain about 7-8 inches and for the larger, I used 12-14 inches.
- HDC in the 2nd, and each other chain across to the end. Ch. 2, turn.
- HDC in the backloop of each stitch across. Ch. 2, turn.
Repeat row 3 until you have your desired pumpkin width x 2. I like to add rows until I can fold the piece in half so that it makes an even square.
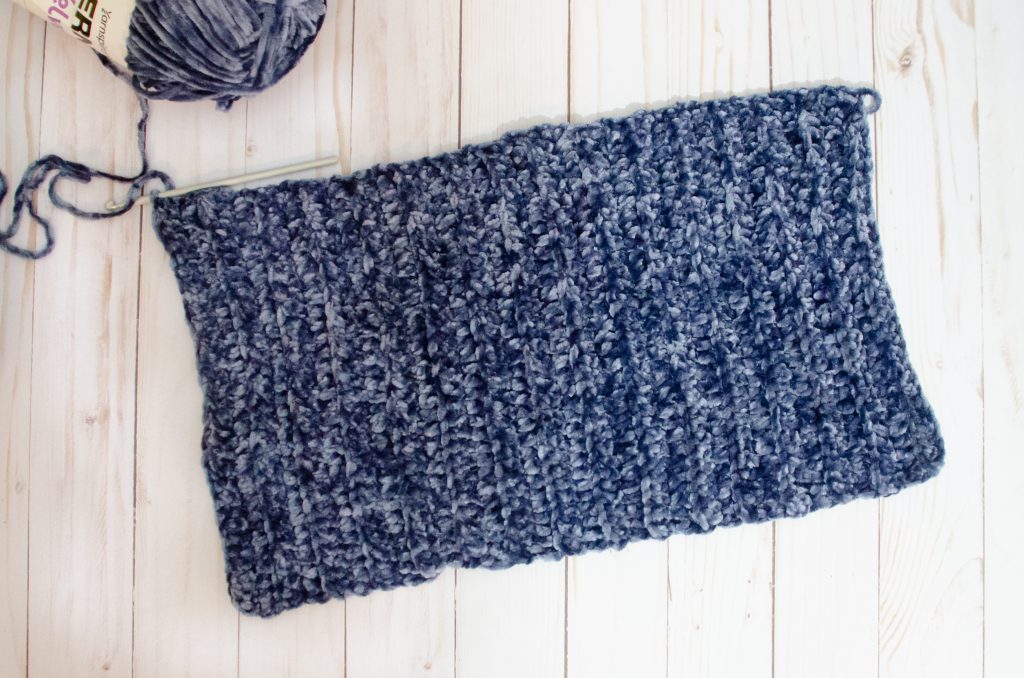
You can vary both the height and wide of the rectangle to change the overall shape of the final piece. Once it’s as wide as you’d like it, sc both short edges so that you have a tube shape. FO with a tail to sew up both ends.
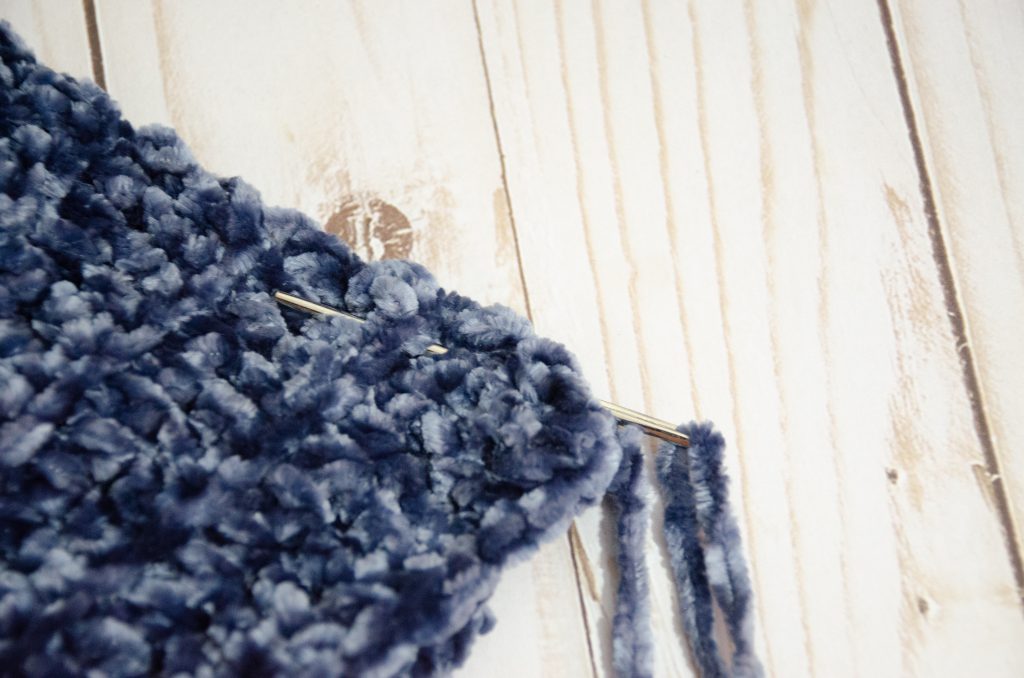
With a yarn needle, weave the tail in and out of the rows to cinch the hole closed. You should have a bowl shape. Stuff it and then sew the other end together the same way.

After both sides are closed and secured, it’s time to sew through the pumpkin and make the side indents. We do this by sewing into the top, out the bottom, and back around though the top again. You can make as many sections as you’d like, even or uneven, to give your pumpkin character. After you sew each line of the yarn through, pull it tightly to make the indent. Be extra care with velvet yarn as it’s a bit thinner and easier to snap by pulling to hard.

Now, your pumpkin just needs a stem and it’ll be all set!
Stem
1. MC, sc x 6
2. (inc) x 6
3. In the backloops, sc in each stitch around
4. sc in each stitch
5. sc in each stitch
To make your stem taller, add more rows of (sc in each stitch around)
To make it thicker around, add a row of (sc, inc) x 6 after row 2.
FO and sew your stem to the top of your pumpkin.
Voila! Pretty little (or big) velvet pumpkins to decorate with! Happy Stitching!